")


")


If you’re starting a small business, want to spruce up your Etsy shop, or need consistent social media and digital marketing imagery, keep reading to learn how to DIY styled stock images, and get your freebie styled shoot cheatsheet!
This post is inspired by Ruthie, my brilliantly creative friend and co-partner in bringing Montgomery accents to Atlanta, who’s starting her own small biz. Here’s our conversation at Ponce City Market last Wednesday:
“Ash, who took your website pictures?”
“The stock ones?”
“Yeah.”
“Me.”
“You?”
“Yeah, just with my iPhone.”
Indeed. This determined TJ Maxx shopping, Fresh Market $2 Tuesdays-
First, what are stock photos?
In PR land as a storyteller and copywriter, I’d have folder after folder of gorgeous, professional stock images. No matter if I was piecing together an email for Delta Air Lines about in-flight dining options, or pulling a beautiful shot of fried chicken and devilled eggs from Ford Fry’s JCT. Kitchen & Bar for Instagram, stock images were my bread-and-butter resource.
Perfectly-crafted sentences pack more punch juxtaposed with storytelling visuals.
(I always especially adored exploring Delta’s photo file, with the gorgeous planes slapped with the commanding, triangular widget and my husband [who actually works for Delta] is now rolling his eyes for me to stop being “one of those plane nerds.”)
I digress.
For inspiration, check out Shay Cochrane’s site. Girl knocks it outta the park. Go on, click. Then come back.
See?
Maybe you can’t justify $70 just yet, but $30 for 10 photos — until you work up to hiring or trading services with a professional photographer friend — sounds more like it. I encourage you to dip your toes in the water yourself: You can take some stock photos, friend.
All you need is:
- White foamcore from Target
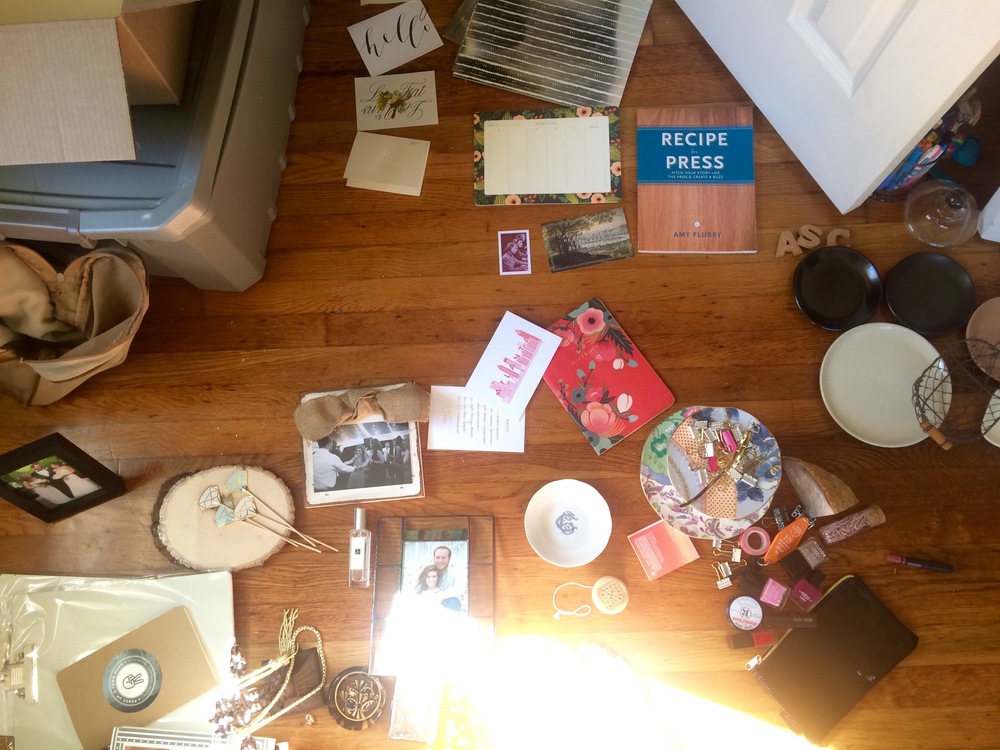
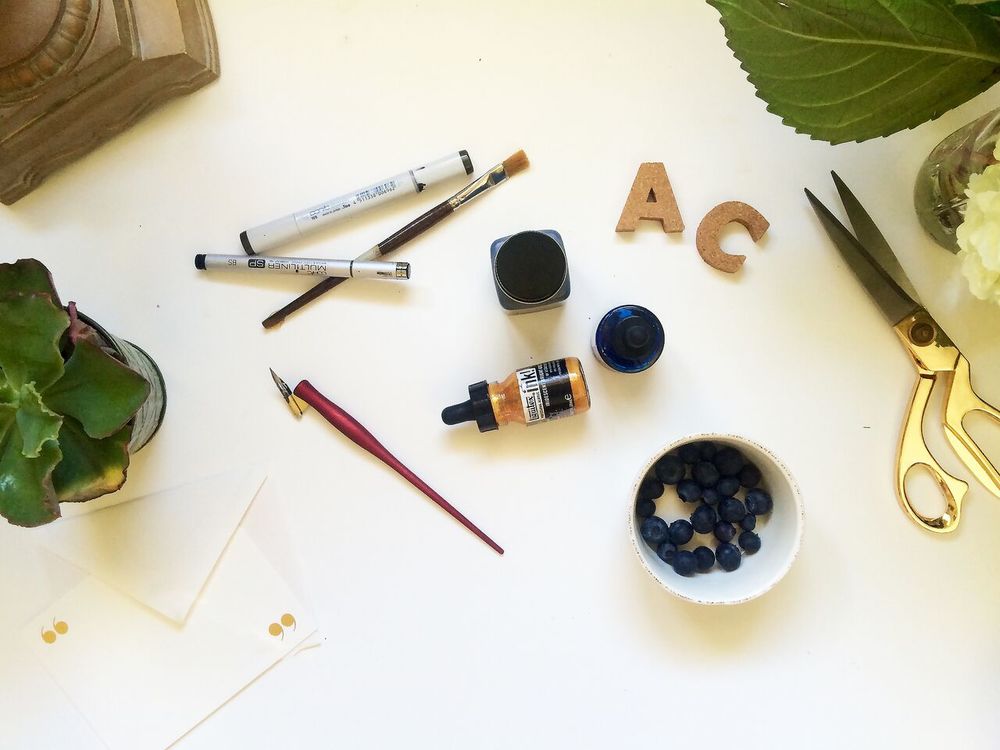
- First string “stuff” – the props that tell the story of you and your business
- Benchwarming beauties “stuff” – the “these are pretty and ‘me'” stuff for fluff’s sake
- Something “live” – a plant, flowers, or snackie. For example, Trader Joe’s has frozen macaroons that work well in photos.
Here are your steps:
- A few weeks prior to your shoot, start collecting ideas. I perused Shay’s site, Instagram, and Pinterest to get a feel. Work from local stylist Candice Lorraine makes me weak in the knees. Don’t mimic, but get dreaming: screenshot the good stuff. What do you like or not like? What objects resonate with you? What about the composition and white space do you like?
- Pick a nice, sunny day in a room with heaps of natural light. This is important!
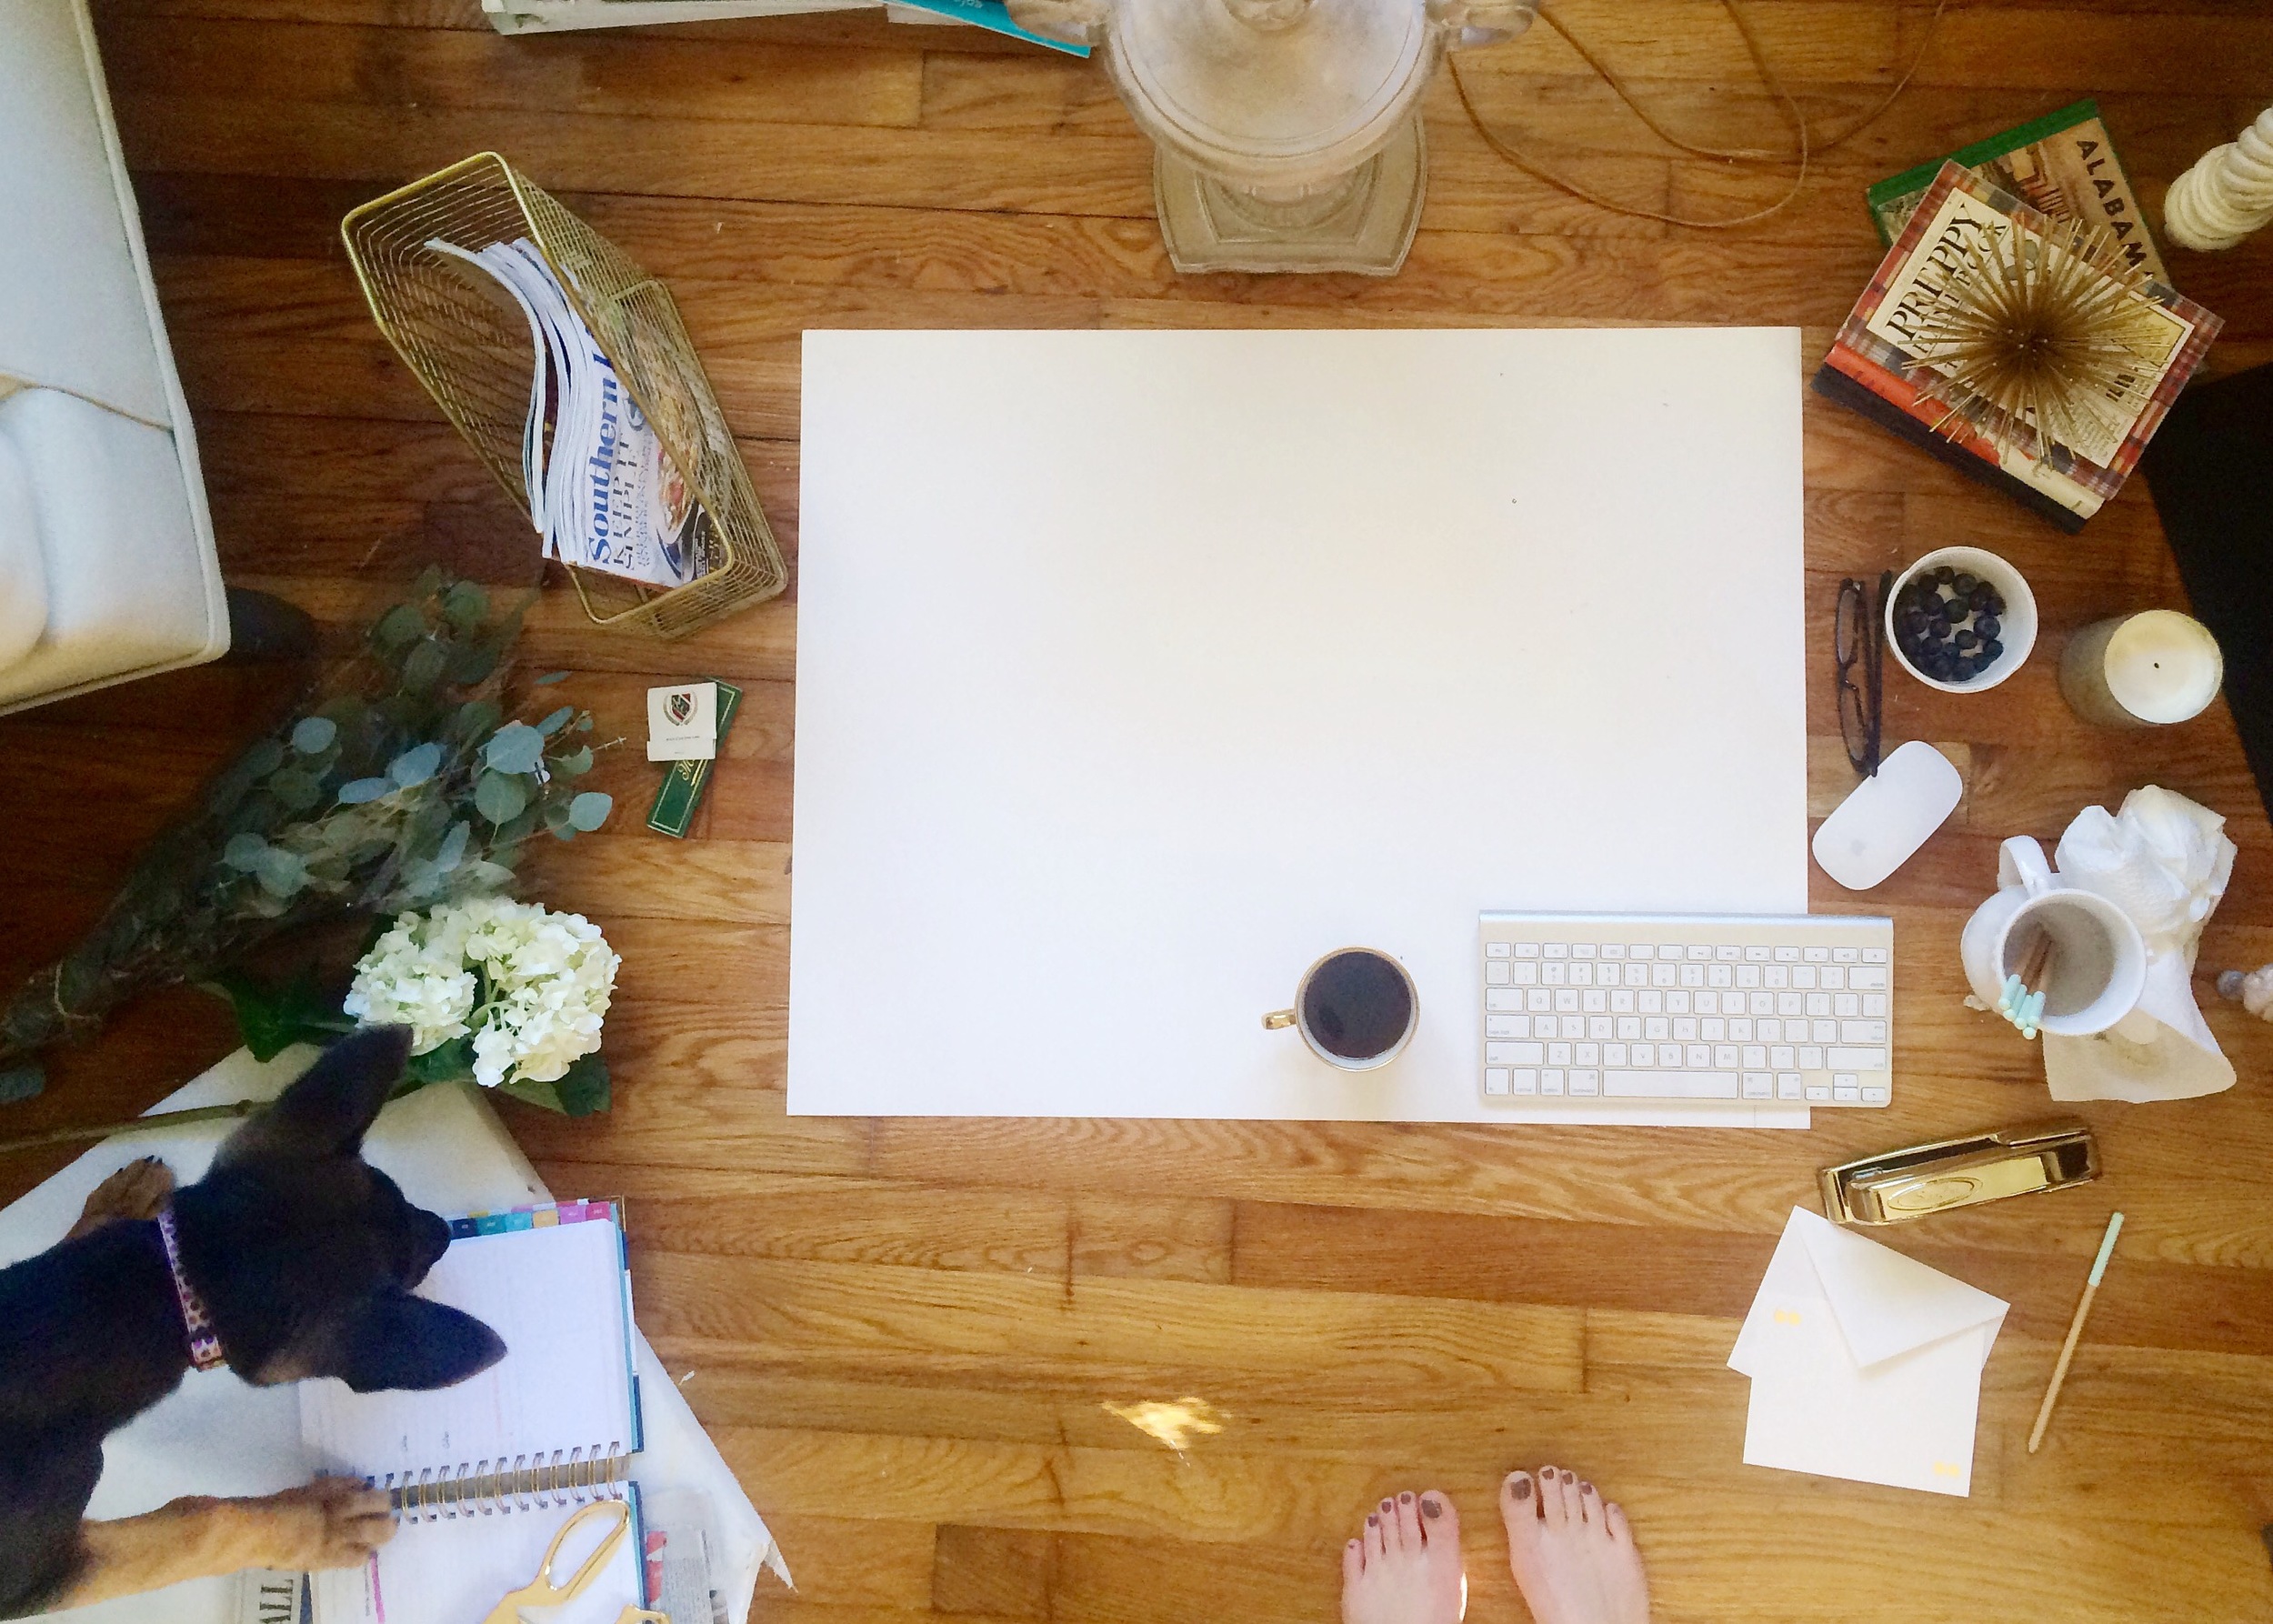
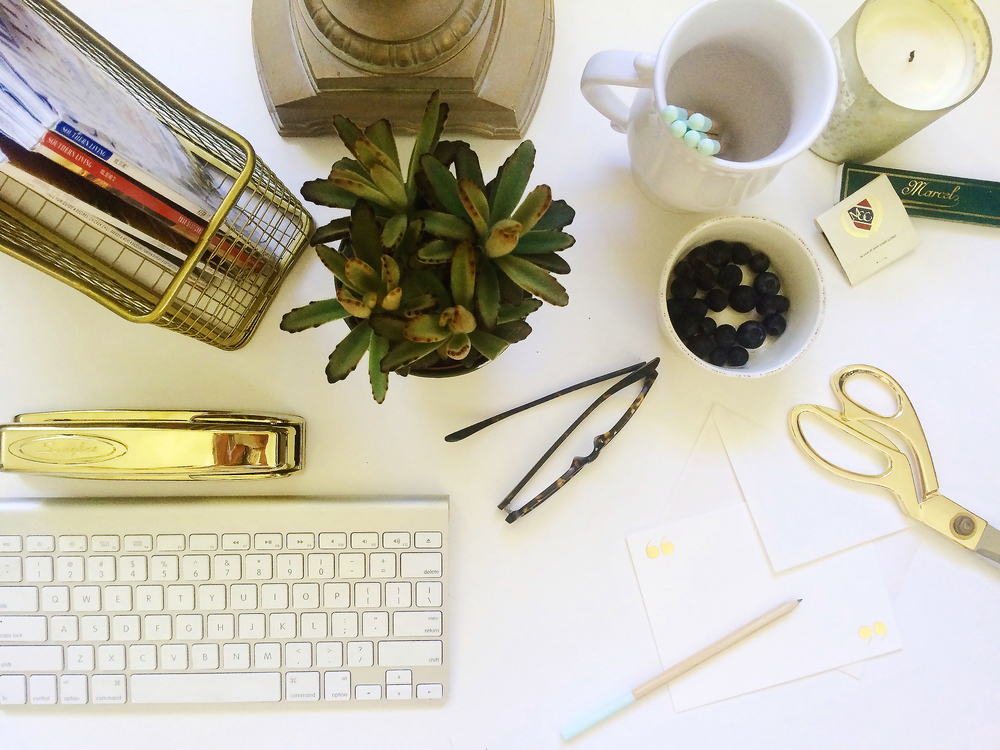
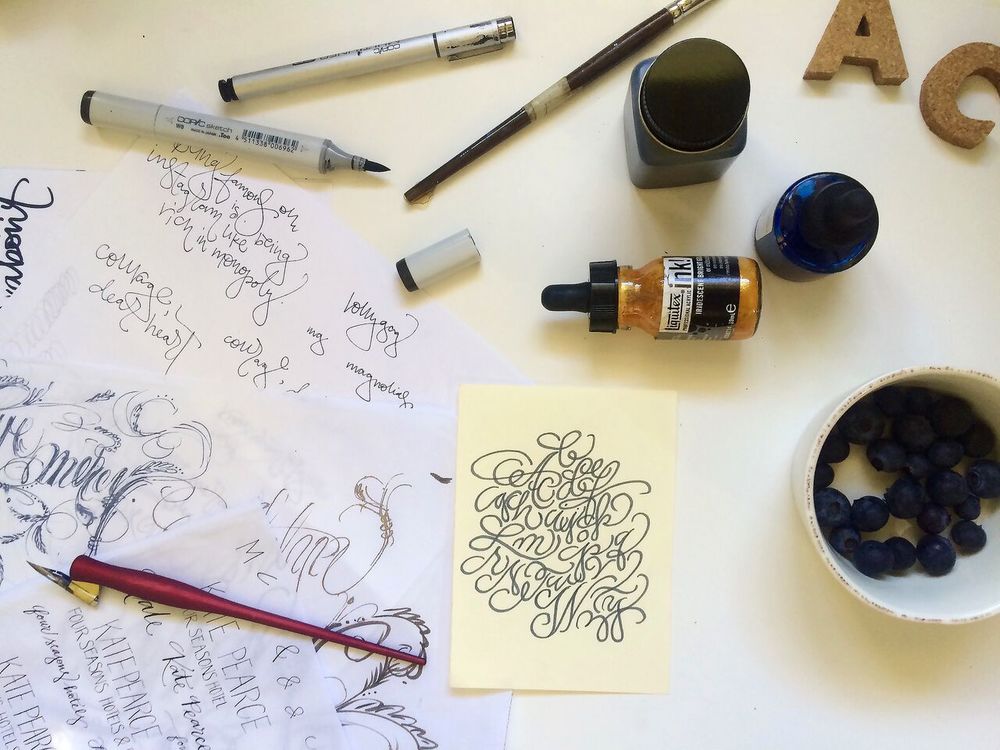
- Gather up! Conjuring a prop room in our study, I dumped armfuls of “stuff” on the hardwood. Be authentic. Start with what you have. From wedding china to books, succulents to scissors, matchbooks to candles and lamps, assess what you own.
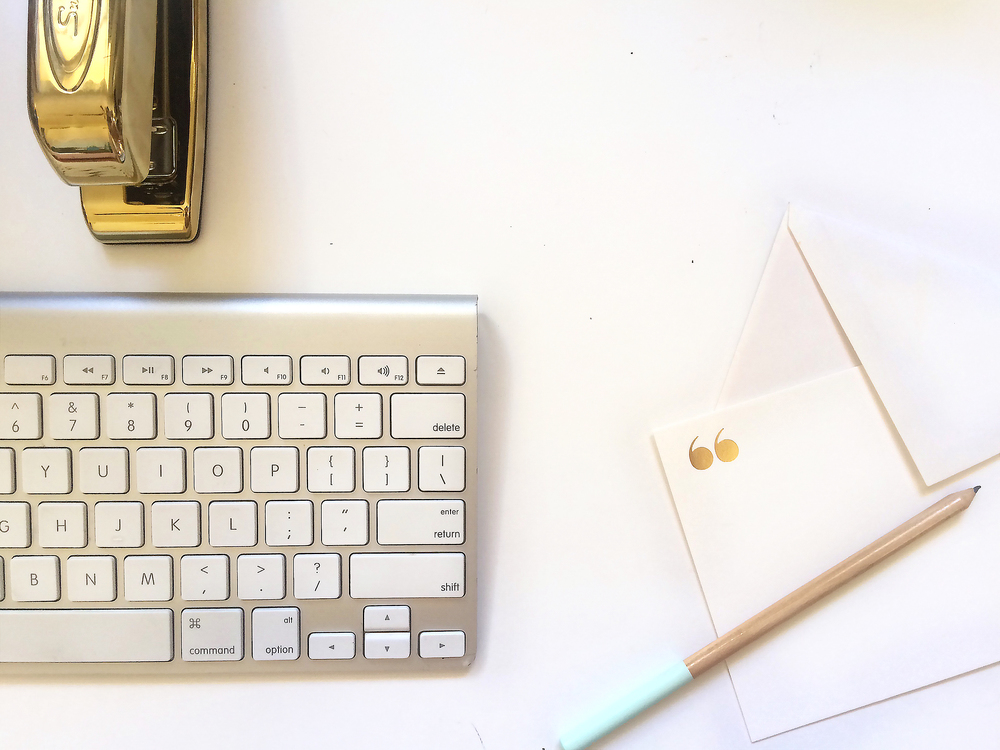
- A few days out, craft a shot list (like a real photographer!). For example, I knew I wanted shots with lots of whitespace for text later on, shots with calligraphy supplies, and shots with journalist supplies. I knew I wanted my Emily Ley notebook, glasses, and coffee in many shots.
- Download the VSCO cam app.
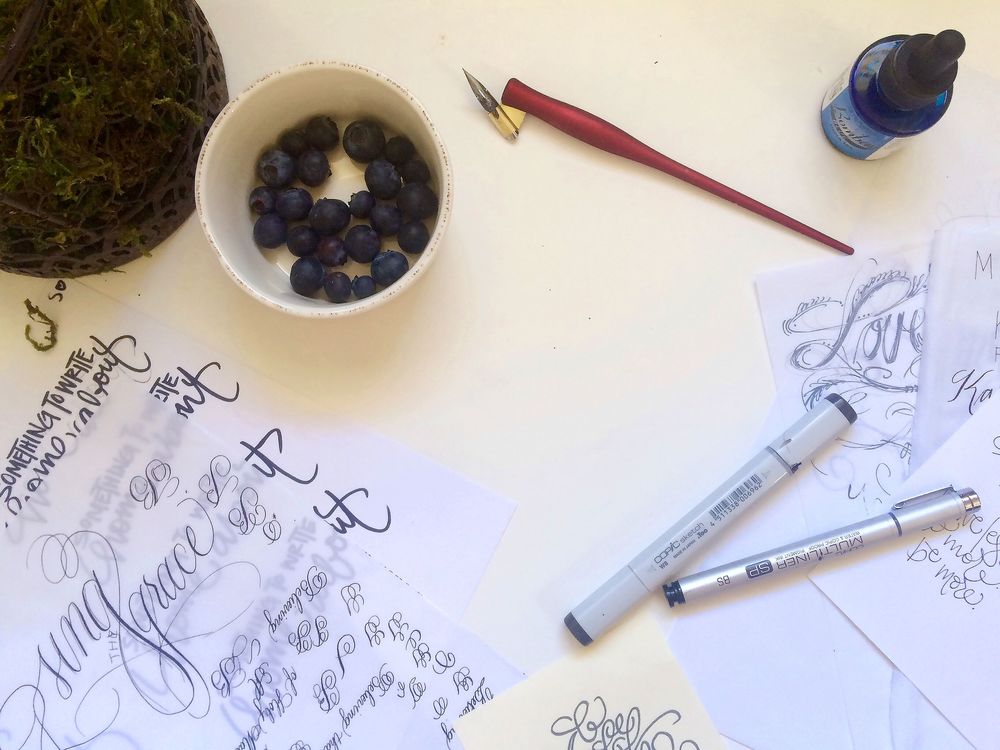
- Day-of, scoop up fresh flowers or pretty fruit, if you’re including.
- Enjoy shoot day! Pull out the whiteboard, and start placing objects and taking test shots. Mix in flat lay shots with traditional angles. Look at your shots, and adjust items to make it feel like you. It was important to me for my friends to be able to look at my photos and say “this is your style, Ash.”
- 100 photos later … narrow down your faves in VSCO, and follow 3 easy steps to clean them up:
- Adjust exposure.
- Adjust contrast.
- Adjust sharpness.
(Optional step: if you’re a Photoshopper like me, you may want to clean them up a bit more.)
I’ll get fresh, shiny, professional, copywriter-driven images one day. ‘Til then, DIY stock photo shoot it is!
Reading Time: 4 Minutes
Maybe you can’t justify $70 just yet, but $30 for 10 photos — until you work up to hiring or trading services with a professional photographer friend — sounds more like it. I encourage you to dip your toes in the water yourself: You can take some stock photos, friend.


")


saw your post on the fb mcs page and love it!! thanks for all the fun tips! – tetia from @letterbliss
Thank you, Tetia! I have to say … I was perusing your Insta feed last night. Really enjoyed it! Keep it up! Love your bright colors.
Love it. 🙂 Any advice on images sizes or what folks should save them as (png vs jpg) – Im just sharing this on my business page and linking to your Facebook page etc as well.
Love love love this article. I’ve been meaning to have a go for a while – why don’t you make it a mini challenge and get a hashtag etc going for it on instagram/facebook etc?
Rebecca, thank you! This is so wise. I have found I need BOTH .png and .jpg files for different things … some for Canva, some for dropped out backgrounds in Photoshop, etc.
I love your idea of a challenge! I’m going to let that thought marinate on a flight today. 🙂 Thank you!